
Best Way to Resize Images Free
Online — Complete 2026 Guide
Serving images at the wrong dimensions is one of the most common and costly website mistakes — it wastes bandwidth, slows page load, and directly tanks Core Web Vitals scores. This complete guide shows you how to resize images free online, the correct dimensions for every platform in 2026, and exactly why it matters for speed and search rankings.
📋 Table of Contents
Why Resizing Images Matters for Speed and SEO
When you upload a 4000×3000px photo from your camera and place it in a 600×400px slot on your website, the browser still downloads all 12 million pixels and then scales them down client-side. That is roughly 25× more data than necessary — and it is the single most common cause of slow page loads across websites of every size and type.
The good news is that you can resize images free in your browser in seconds using our tool — no software, no account, no upload to any server. Your images stay on your device throughout the process.
The Hidden Cost of Not Resizing Images
A typical camera photo is 4000–6000px wide and 3–8MB in file size. On a website with a 1200px layout, that photo needs to be 1200px maximum. Serving it at 5000px wastes 83% of the file size on every single page load. With 10 such images on a page, that can mean 50MB of wasted bandwidth per visitor — which is why Google flags it in PageSpeed Insights as “Properly size images.”
How to Resize Images Free — Step by Step
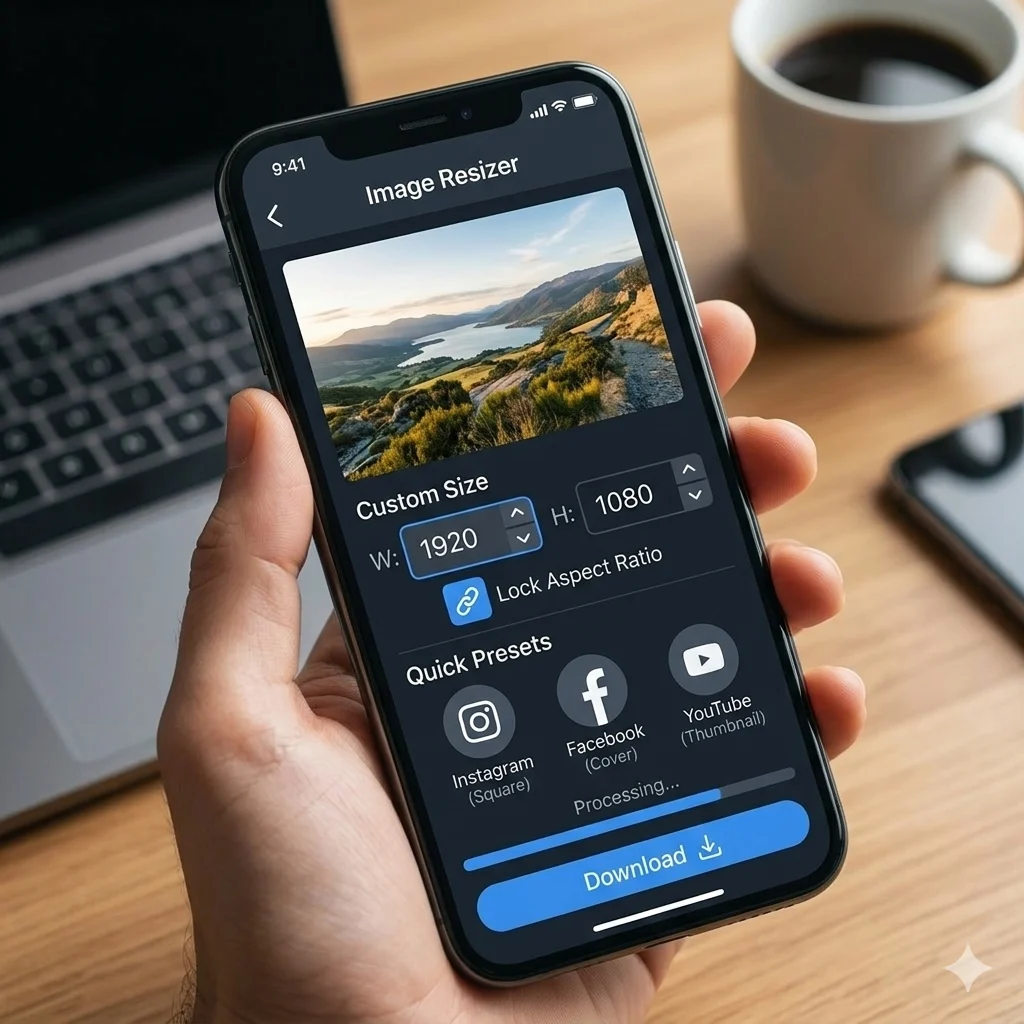
Follow these four steps to resize images free online without any download, account, or upload to a third-party server:
Open the Free Image Resizer Tool
Go to imagesearchtechniques.org/image-resizer — no account required, no software to install. The tool runs entirely in your browser and your image never leaves your device at any point.
Upload Your Image File
Click “Upload Image” or drag and drop your JPG, PNG, or WebP file into the tool. The original dimensions are displayed immediately so you know exactly what you are working with before making any changes.
Enter Your Target Dimensions
Enter the target width in pixels — the height adjusts automatically to preserve the original aspect ratio. Or enter both width and height to set fixed dimensions. Use the dimension table below to find the correct size for your specific use case.
Download and Compress
Click Download to save your resized image. For maximum performance, follow up with our Image Compressor to reduce file size further, then convert to WebP format — the complete workflow to resize images free and optimize them for web delivery.
Correct Dimensions for Every Platform
Use this reference table when you need to resize images free to specific dimensions for different platforms and use cases in 2026:
| Use Case | Recommended Width | Aspect Ratio | Notes |
|---|---|---|---|
| Website hero / banner | 1920px (2560px retina) | 16:9 | Use CSS max-width to prevent stretching |
| Blog featured image | 1200px | 16:9 or 3:2 | Most themes use 1200×675 or 1200×800 |
| Blog inline content image | 800px | Free | Scales down on mobile automatically |
| Product image (e-commerce) | 1000×1000px | 1:1 | Square format works across all platforms |
| Thumbnail / card image | 300px | 3:2 | Standard 300×200px works universally |
| Avatar / profile image | 400×400px | 1:1 | Minimum 200×200px for good clarity |
| Instagram post | 1080×1080px | 1:1 | Also 1080×1350 portrait, 1080×566 landscape |
| Twitter / X image | 1200×675px | 16:9 | In-feed and link preview image |
| Facebook post image | 1200×630px | 1.91:1 | Link preview and post feed image |
| LinkedIn post image | 1200×627px | 1.91:1 | Feed and article header image |
| Open Graph / meta image | 1200×630px | 1.91:1 | Universal social share preview size |
Resize Images Free Without Losing Quality
The most common concern when people want to resize images free is quality degradation. Here is the complete picture of how quality and resizing interact:
Resizing down is always quality-safe. Making an image smaller discards pixels you no longer need — the visual result at the smaller size is indistinguishable from the original. You cannot see the difference between a 4000px photo resized to 1200px and one that was shot at 1200px.
Resizing up always reduces quality. Scaling an image larger than its original dimensions forces the software to invent pixel data it does not have — resulting in visible blurriness and pixelation. If you need a larger output, start from a higher-resolution source file.
Follow these rules to resize images free while preserving maximum quality:
- Only resize down, never up — if you need a larger version, go back to the original high-resolution source
- Use bicubic or Lanczos resampling — these algorithms smooth edges during downscaling and produce sharper results (our free resizer uses this automatically)
- Resize before compressing — always reduce dimensions first, then apply quality compression as a separate step
- Export as WebP at quality 85 — after resizing, convert to WebP for the smallest file size at the best visual quality
The Optimal Free Workflow
To resize images free and get the smallest possible file at the best quality: Step 1 — use our Image Resizer to get exact pixel dimensions. Step 2 — use our Image Compressor at Quality 80. Step 3 — convert to WebP using our JPG to WebP converter. This three-step sequence typically reduces a 3MB camera photo to under 100KB with no visible quality difference at display size.
Resize vs Crop — What Is the Difference?
These two operations are often confused but serve completely different purposes when you want to resize images free for web use:
Resizing changes the pixel dimensions of the entire image while keeping all content visible. The aspect ratio is preserved. A 4000×3000px image (4:3) resized to 1000×750px (still 4:3) shows the exact same composition at a smaller size — nothing is removed or rearranged.
Cropping cuts away portions of the image to change the composition or aspect ratio. A 4000×3000px image (4:3) cropped to 1000×1000px (1:1) loses content on two sides. Use cropping when you need a specific aspect ratio — like 1:1 for Instagram or 16:9 for YouTube thumbnails — that does not match your original photo’s proportions.
Both operations are available free at ImageTools: use our Image Resizer to change dimensions without cropping, and our Image Crop tool to cut to a specific aspect ratio. Both run in your browser with no upload required.
How Image Resizing Affects SEO and Rankings
Resizing images free to the correct display dimensions has a direct and measurable impact on search rankings through two confirmed mechanisms:
- Page speed as a ranking signal: Google has confirmed page speed as a ranking signal since 2010 for desktop and 2018 for mobile. Correctly sized images reduce page load time, which improves this signal directly.
- Core Web Vitals LCP: The hero image is almost always the LCP (Largest Contentful Paint) element on the page — Google’s most important user experience metric and a direct ranking factor. An oversized unresized hero image is one of the primary causes of poor LCP scores. Resizing and compressing the hero image is typically the highest-impact Core Web Vitals fix available.
Google’s PageSpeed Insights tool specifically reports “Properly size images” as an optimization opportunity with an estimated time savings in seconds when images are served larger than their display dimensions. Fixing this flag by resizing images free to correct dimensions is one of the easiest and highest-impact SEO wins available for most websites.
📐 Resize Images Free — No Upload Required
Browser-based image resizer — instant results, completely private, no account needed. Your image stays on your device throughout the entire process.
