
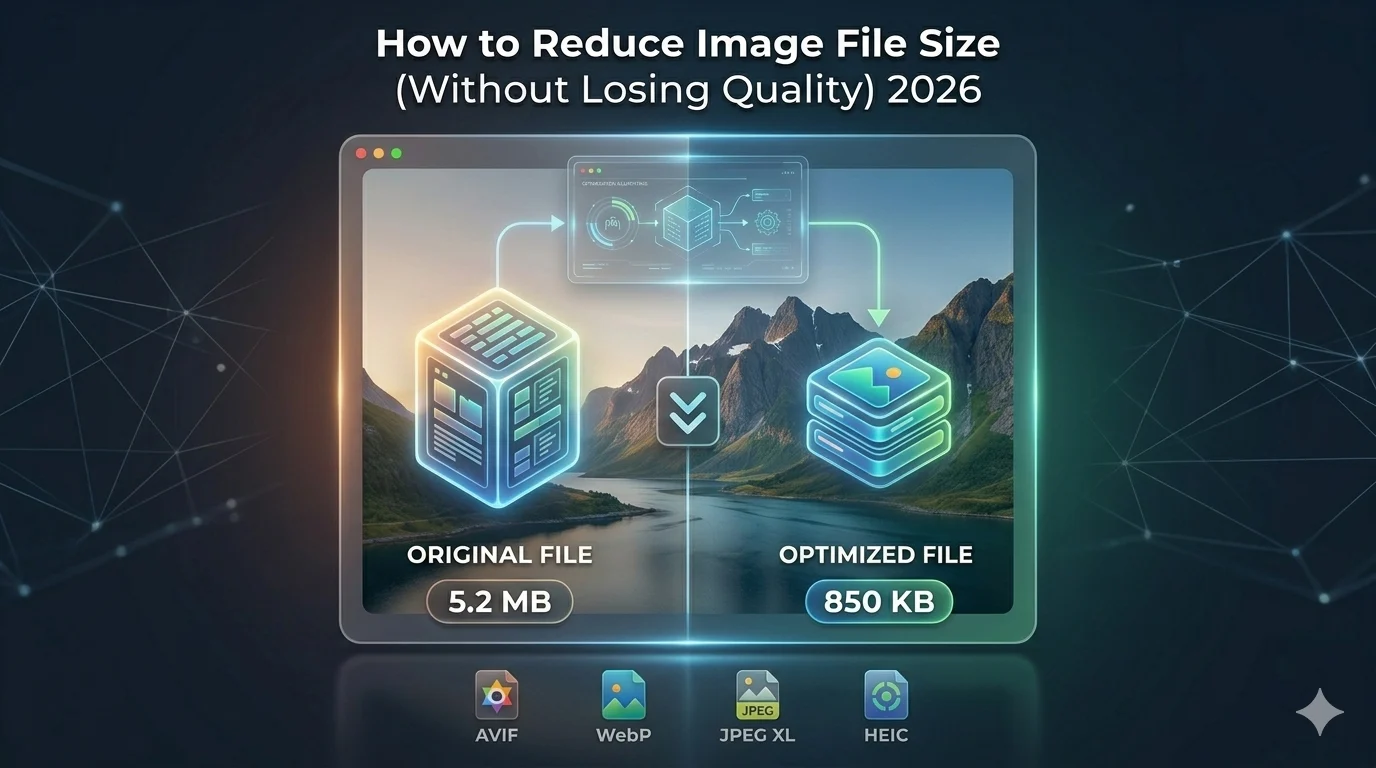
Best Ways to Reduce Image File Size
Without Losing Quality (2026)
Large images slow down websites, bloat email attachments, and get rejected by upload limits. This guide shows you the fastest, most effective methods to reduce image file size in 2026 — with target sizes for every use case, quality settings explained, and free browser-based tools that do the work in seconds without any upload required.
📋 Table of Contents
Why Image File Size Matters
Images are typically 60–80% of total web page weight. A single 3MB photo can make your page load 3–4× slower than it should on a mobile connection. Slow pages have higher bounce rates, lower conversion rates, lower Google rankings, and failing Core Web Vitals scores. Learning to reduce image file size effectively is the single highest-impact performance improvement most websites can make.
According to Google’s web.dev image optimization guidance, properly sized and compressed images are among the top opportunities identified in PageSpeed Insights for nearly every website audited. Beyond page performance, oversized images cause real problems elsewhere: email clients reject attachments over 10MB, social platforms recompress large uploads causing quality loss, and mobile users burn through data allowances unnecessarily.
4 Methods to Reduce Image File Size
These four methods work independently but produce the greatest results when applied together. Each addresses a different source of unnecessary file weight:
Method 1 — Convert to WebP (Biggest Single Win)
WebP is Google’s modern image format — it produces files 25–35% smaller than JPG and 20–26% smaller than PNG at identical visual quality. Converting existing JPG or PNG files to WebP is the single most impactful way to reduce image file size with zero visible quality change. Browser support is over 97% globally in 2026. Use our free JPG to WebP or PNG to WebP converters — no upload required.
↓ 25–35% smaller than JPGMethod 2 — Lossy Compression at Quality 75–85
Lossy compression reduces file size by permanently removing image data the human eye cannot detect at normal screen sizes. Setting quality to 80 is the proven web sweet spot — you get 40–60% smaller files with no visible difference at display sizes. Use our free Image Compressor to reduce image file size with a simple quality slider. Below quality 70, artifacts become visible in photos; above quality 90, the file size grows with minimal visual benefit.
↓ 40–60% size reductionMethod 3 — Resize to Actual Display Dimensions
The most overlooked cause of bloated web images: serving a 4000px-wide photo in a 400px display slot. The browser downloads all 4000px then scales down — wasting 90% of the file. Resizing to display dimensions before upload is one of the fastest ways to reduce image file size dramatically. Use our Image Resizer to export at exactly the dimensions the image will display. This alone cuts file size by up to 80% for oversized originals.
↓ Up to 80% for oversized imagesMethod 4 — Strip EXIF Metadata
Every photo taken with a camera or smartphone contains hidden EXIF metadata — GPS coordinates, camera model, timestamp, lens settings, and more. This invisible data adds 10–30KB to every image with zero visual impact. Our Image Compressor strips EXIF automatically when compressing. Note: if you need to preserve copyright or creator metadata for professional or licensing purposes, keep this step optional.
↓ 10–30KB per imageApply All 4 for Maximum File Size Reduction
Combined workflow: convert to WebP + compress at quality 80 + resize to display dimensions + strip EXIF. A typical 3MB camera photo becomes under 100KB with no visible quality difference at web display sizes — a 97% reduction. All four steps are free and take under 30 seconds using our browser-based tools. Your images never leave your device.
Target File Sizes by Use Case
Use these targets when deciding how aggressively to reduce image file size for different contexts:
| Use Case | Target Size | Max Dimensions | Recommended Format |
|---|---|---|---|
| Website hero / banner | Under 150KB | 1920×1080px | WebP |
| Blog content image | Under 80KB | 800×600px | WebP |
| Product photo (e-commerce) | Under 100KB | 1000×1000px | WebP |
| Thumbnail / card image | Under 20KB | 300×200px | WebP |
| Email inline image | Under 100KB | 600px wide | JPG |
| Email attachment | Under 5MB total | Full size | JPG / PNG |
| Social media post | Platform recompresses anyway | Platform spec | JPG / PNG |
| Print (300 DPI) | No web size target | Full resolution | PNG / TIFF |
Quality Settings Explained
Understanding quality settings helps you reduce image file size confidently without guessing whether quality loss will be visible. Here is what each range means in practice:
- Quality 90–100: Near-lossless — minimal file size reduction. Only appropriate for print files or source archives where originals need preservation
- Quality 80–85: The web sweet spot — 40–60% smaller than lossless with no visible difference at screen sizes. Use this for all web images that need to reduce file size without quality loss
- Quality 70–79: More aggressive — any loss is only visible on close inspection of large prints. Fine for thumbnails and preview images
- Quality 50–69: Noticeable quality loss — acceptable for very small previews, not for featured or hero images
- Quality below 50: Heavy visible artifacts — only appropriate for placeholder images or icons with few colors
Our Image Compressor defaults to quality 80 — the optimal setting to reduce image file size for web use without any visible quality degradation. Adjust the slider if you need to push further for specific size-constrained use cases like email or mobile-first delivery.
Reduce Image File Size in WordPress
Always reduce image file size before uploading to WordPress. WordPress stores your original file and generates multiple derivative thumbnail sizes from it — if the original is 3MB and bloated, every derivative inherits that bloat and wastes server storage and bandwidth on every page load.
The recommended WordPress workflow to reduce image file size properly:
- Resize the image to actual display dimensions using our Image Resizer
- Convert to WebP format using our JPG to WebP converter for the biggest single reduction
- Compress at quality 80 using our Image Compressor
- Upload the optimized WebP file to the WordPress Media Library
- Add descriptive, keyword-aware alt text in the WordPress attachment details panel
For automatic image file size reduction on every future upload, install Imagify or ShortPixel — both have generous free tiers and auto-compress, auto-convert to WebP, and handle all new media library uploads without any manual steps.
Pre-Upload Checklist
Run every image through this checklist before uploading to confirm you have properly reduced the image file size for your use case:
✅ Image Upload Checklist
🗜️ Reduce Image File Size Now — Free
Browser-based, instant, no upload required. Compress, convert, and resize in seconds. Your images stay on your device throughout.
